I'm excited to share a fun little treat to help you enjoy the strawberry season while it's here. Homemade chocolate covered strawberries may seem like a simple task, but it's actually not as easy as you'd think to get them looking smooth and professional. I failed at it myself many times until I decided on a system that works, and today I'm going to share what I've learned.
Want to Save this Recipe?
Enter your email below & we'll send it straight to your inbox. Plus you'll get great new recipes from us every week!
My Chocolate Covered Strawberry Tips!
I'm a busy mom, just like anyone else, so I am a big fan of skipping steps (that I deem to be unnecessary!) when cooking. I've tried many times to skip the double boiler in this recipe, and I am here to tell you it just does not work. If you need melted chocolate to mix into another recipe, it's fine without a double boiler. However, if you need the finished chocolate to look pretty...there are no shortcuts!
My tips:
- Don't skip the double boiler.
- Set aside some chocolate chips to help cool down and "temper" the mixture quickly (a trick I learned from here and here).
- Use some dye-free sprinkles to cover up any texture issues.
- Make them in small batches.
- Work quickly when dipping.
- If you don't have an hour to wait for them to harden in the fridge, stick them in the freezer for 15 min (just don't forget about them in there!).
About Tempering Chocolate
According to the Joy of Cooking, tempering is "simply a matter of heating and cooling melted chocolate to predetermined temperatures so that the finished chocolate will have a glossy surface and a smooth texture when it dries." The only way to do this properly is with a double boiler (as I mentioned above). Also, I love the trick to set aside some chocolate that you can add in at the very end to speed up the cooling. You can use a thermometer to be super accurate about the temperatures—melt to 110/120° then cool to 88/90°—but, I did not find that level of detail to be necessary to get it right.
Strawberry Season!
I picked the strawberries that I used from a fabulous little organic strawberry farm that I love here in South Charlotte, Wise Acres. Not only are the owners the nicest people, but they grow the #1 item on the dirty dozen list at their certified USDA organic farm for us! Every year I get so excited when they announce they're open for business, and I also love how they keep us so well updated (on good vs. not good picking days) on their social media channels. I always check it before I drive out there. This year, they are dealing with an unfortunate root rot on their plants from the grower, so definitely check in before you head out to pick your strawberries!
We also love these Chocolate Pecan Turtles!


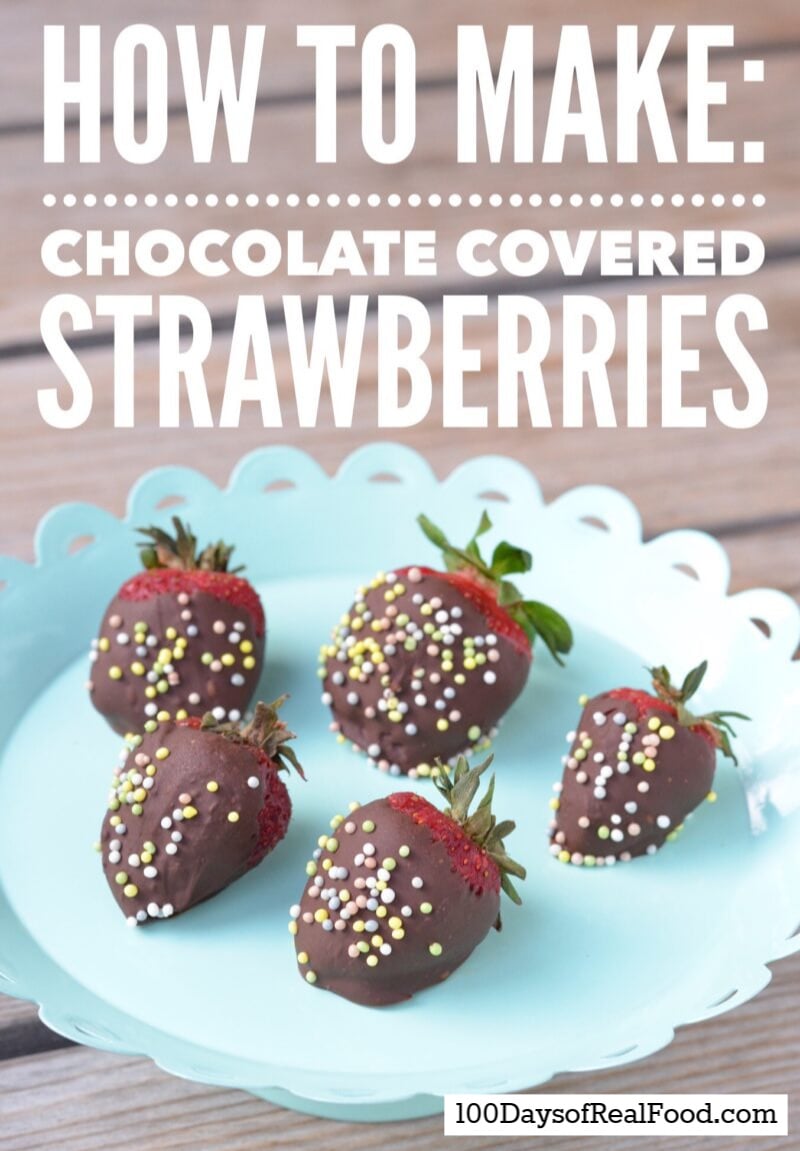
How to Make Chocolate Covered Strawberries
Ingredients
- 16 strawberries (washed and dried, 16 to 20 berries, depending on the size)
- 1 ¼ cups chocolate chips (divided)
- dye-free sprinkles (optional garnish)
Instructions
- Ensure that the strawberries are completely dry and set aside. Line a baking sheet with parchment paper.
- Melt 1 cup of the chocolate chips in a double boiler (see note below) over medium heat. Stir frequently until the chocolate is smooth and shiny. Remove from heat and stir in the remaining ¼ cup chocolate chips to cool down the temperature.
- One by one, hold each strawberry by the stem and roll it around in the chocolate, gently lay it on the baking sheet, and top it with a few sprinkles. I like to hold the pot on its side to give the strawberries enough room. If you add the sprinkles right away, there's no chance of it hardening too soon.
- Refrigerate for at least 1 hour (or freeze for 15 min) and serve.


Sheila says
I have found it helpful to use room temperature strawberries, not ones fresh from the refrigerator. The cold ones get damp from condensation and the chocolate doesn't stick as well.
Beth Green says
I made your chocolate covered strawberries last night! They were wonderful, not nearly as pretty as yours, but still wonderful! Thank you!
By the way.....Have you created (or thought about) a Banana pudding recipe? Banana pudding is a favorite in our house, but since starting our new eating lifestyle I have not made it- but with summer coming I would love to find a good "real food" recipe to try.
Thanks!
100 Days Admin says
Hi Beth, so glad to hear that the chocolate covered strawberries were a hit! We'll have to keep banana pudding in mind for future recipes :) - Nicole