
Want to Save this Recipe?
Enter your email below & we'll send it straight to your inbox. Plus you'll get great new recipes from us every week!
Every year I join a small group of girlfriends for a holiday cookie exchange and, even though cookies are not "real food," I do still like to participate in this event (in moderation) because it is a fun gathering! We used to bring a bag of cookies for each person, but one year I asked if we could instead bring our cookies on a platter so everyone could take how many they want of each. That meant I'd have the option only to take one, maybe two, of each and also the nut allergy family could skip anything that doesn't work for them. So, in general, no one would end up with more cookies than they wanted! Plus, it's easier to put them on a platter versus bagging them up. :)
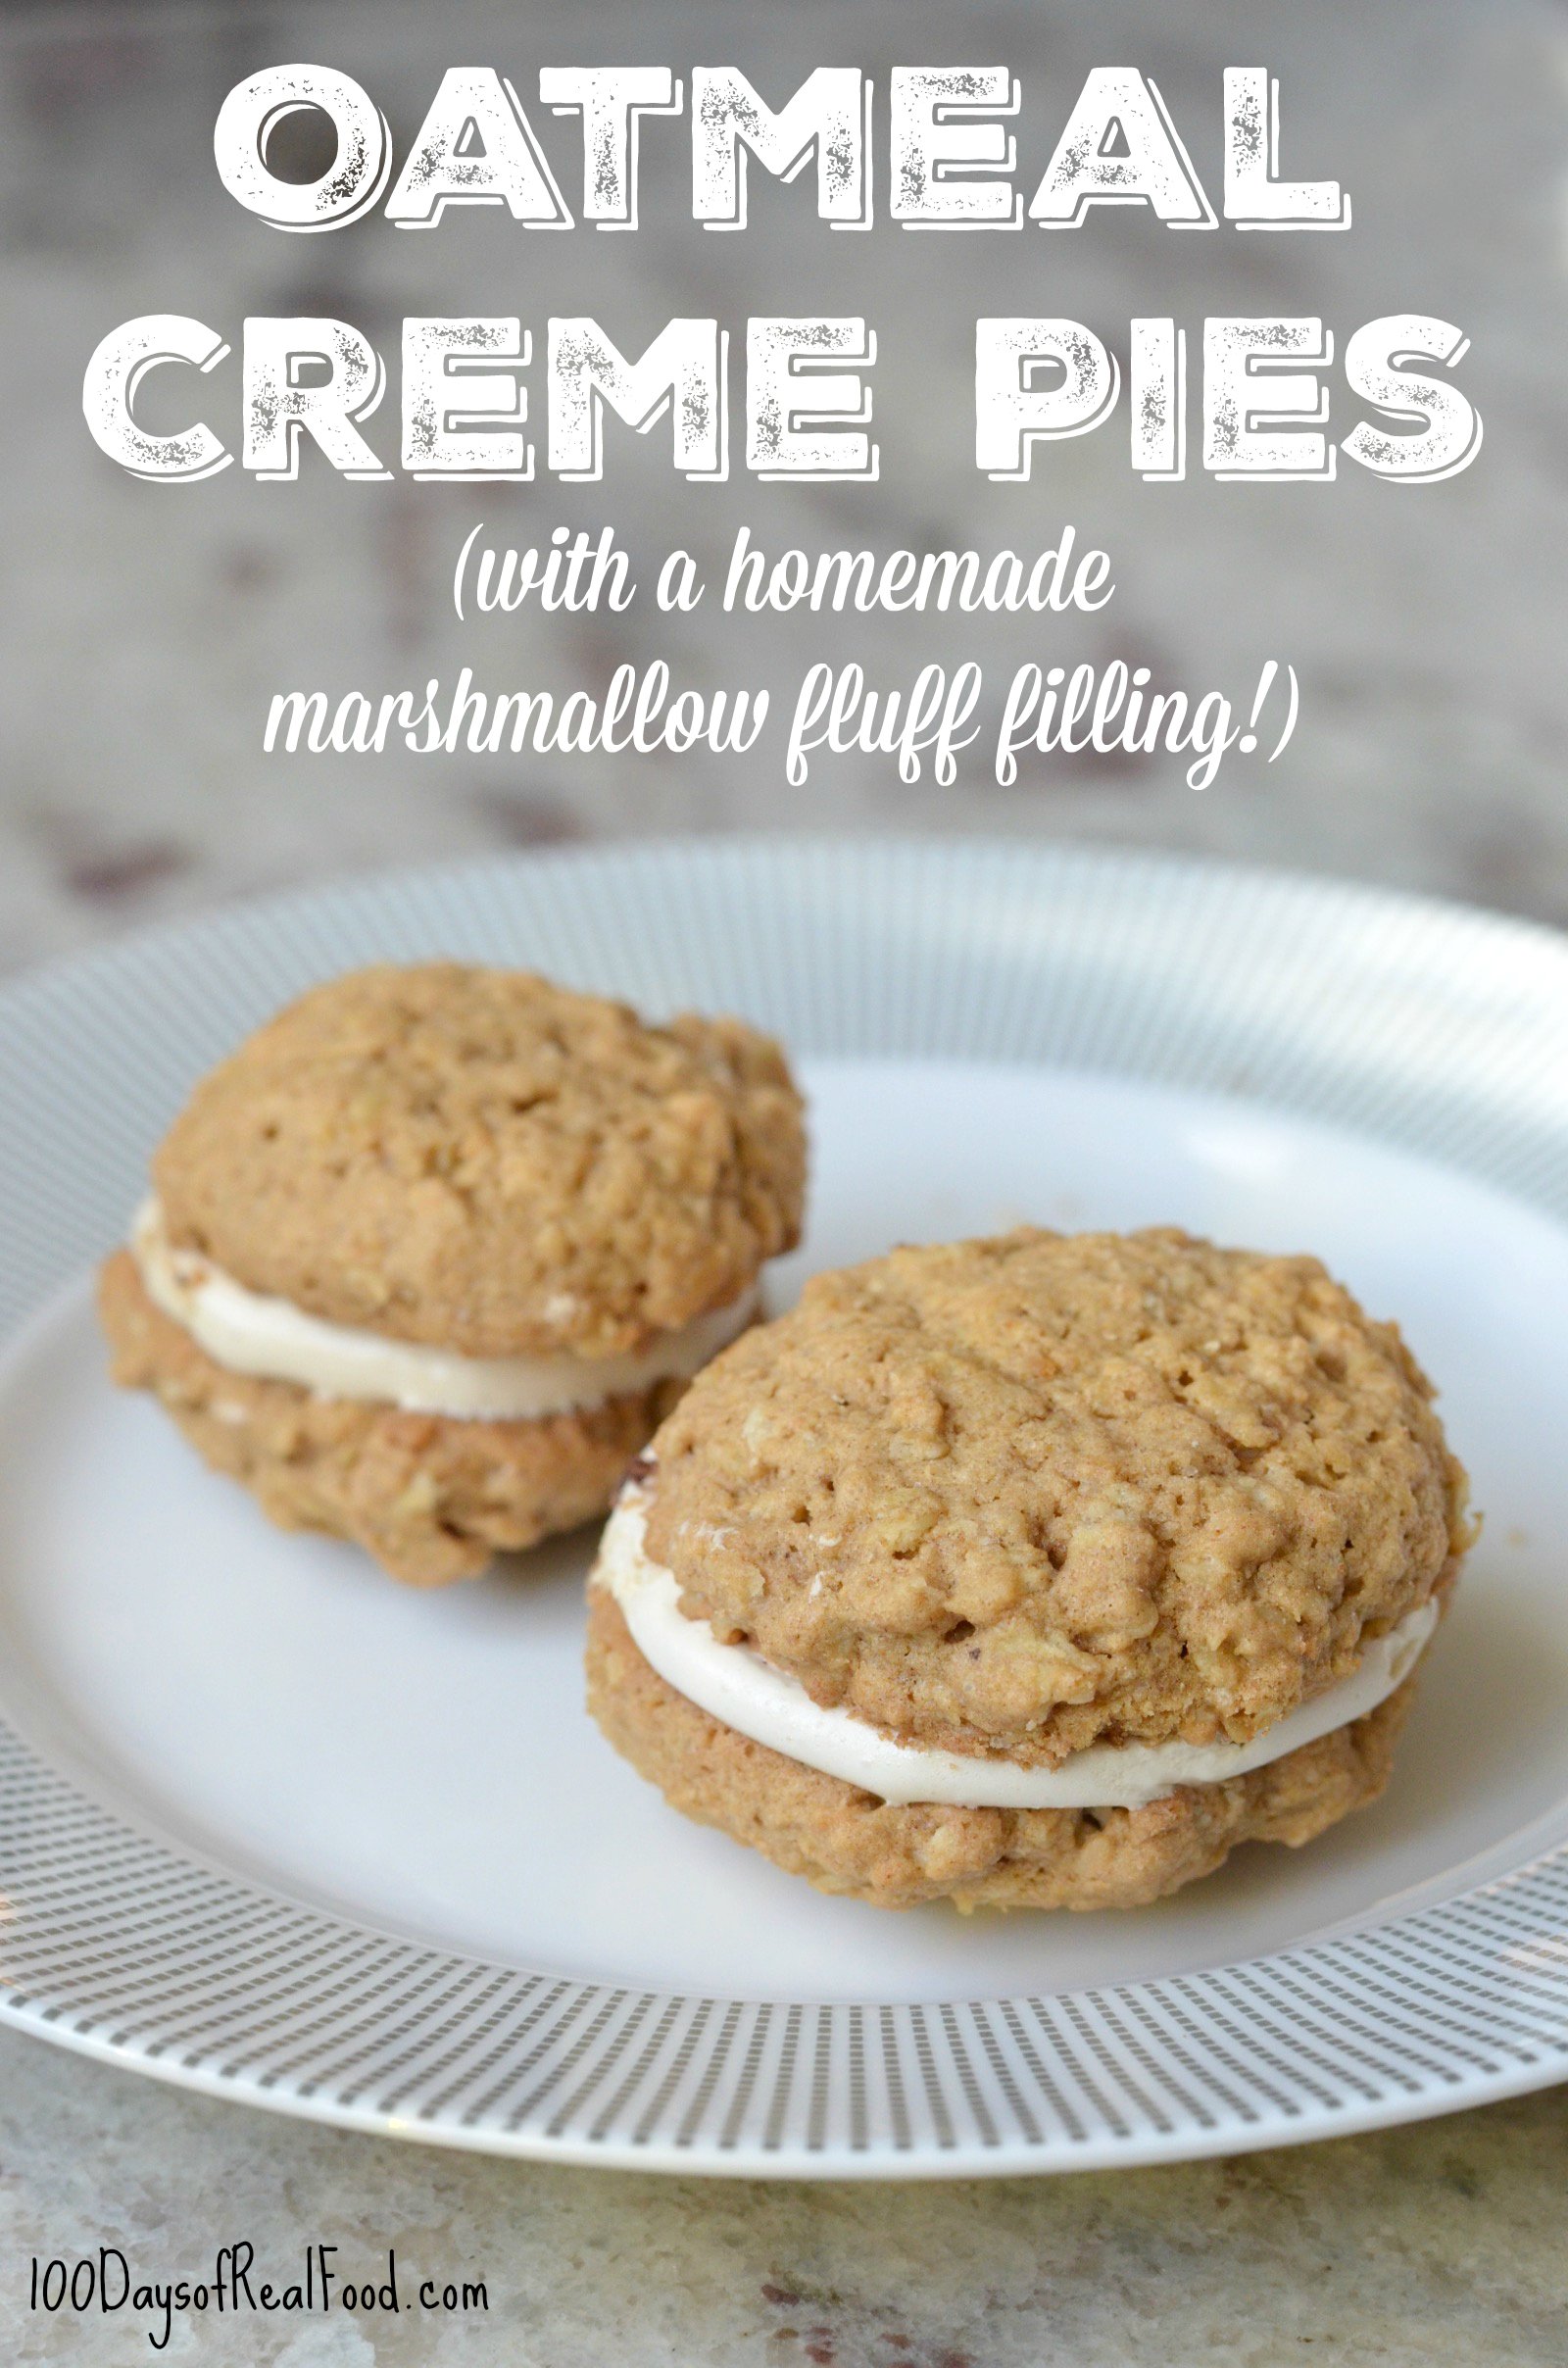
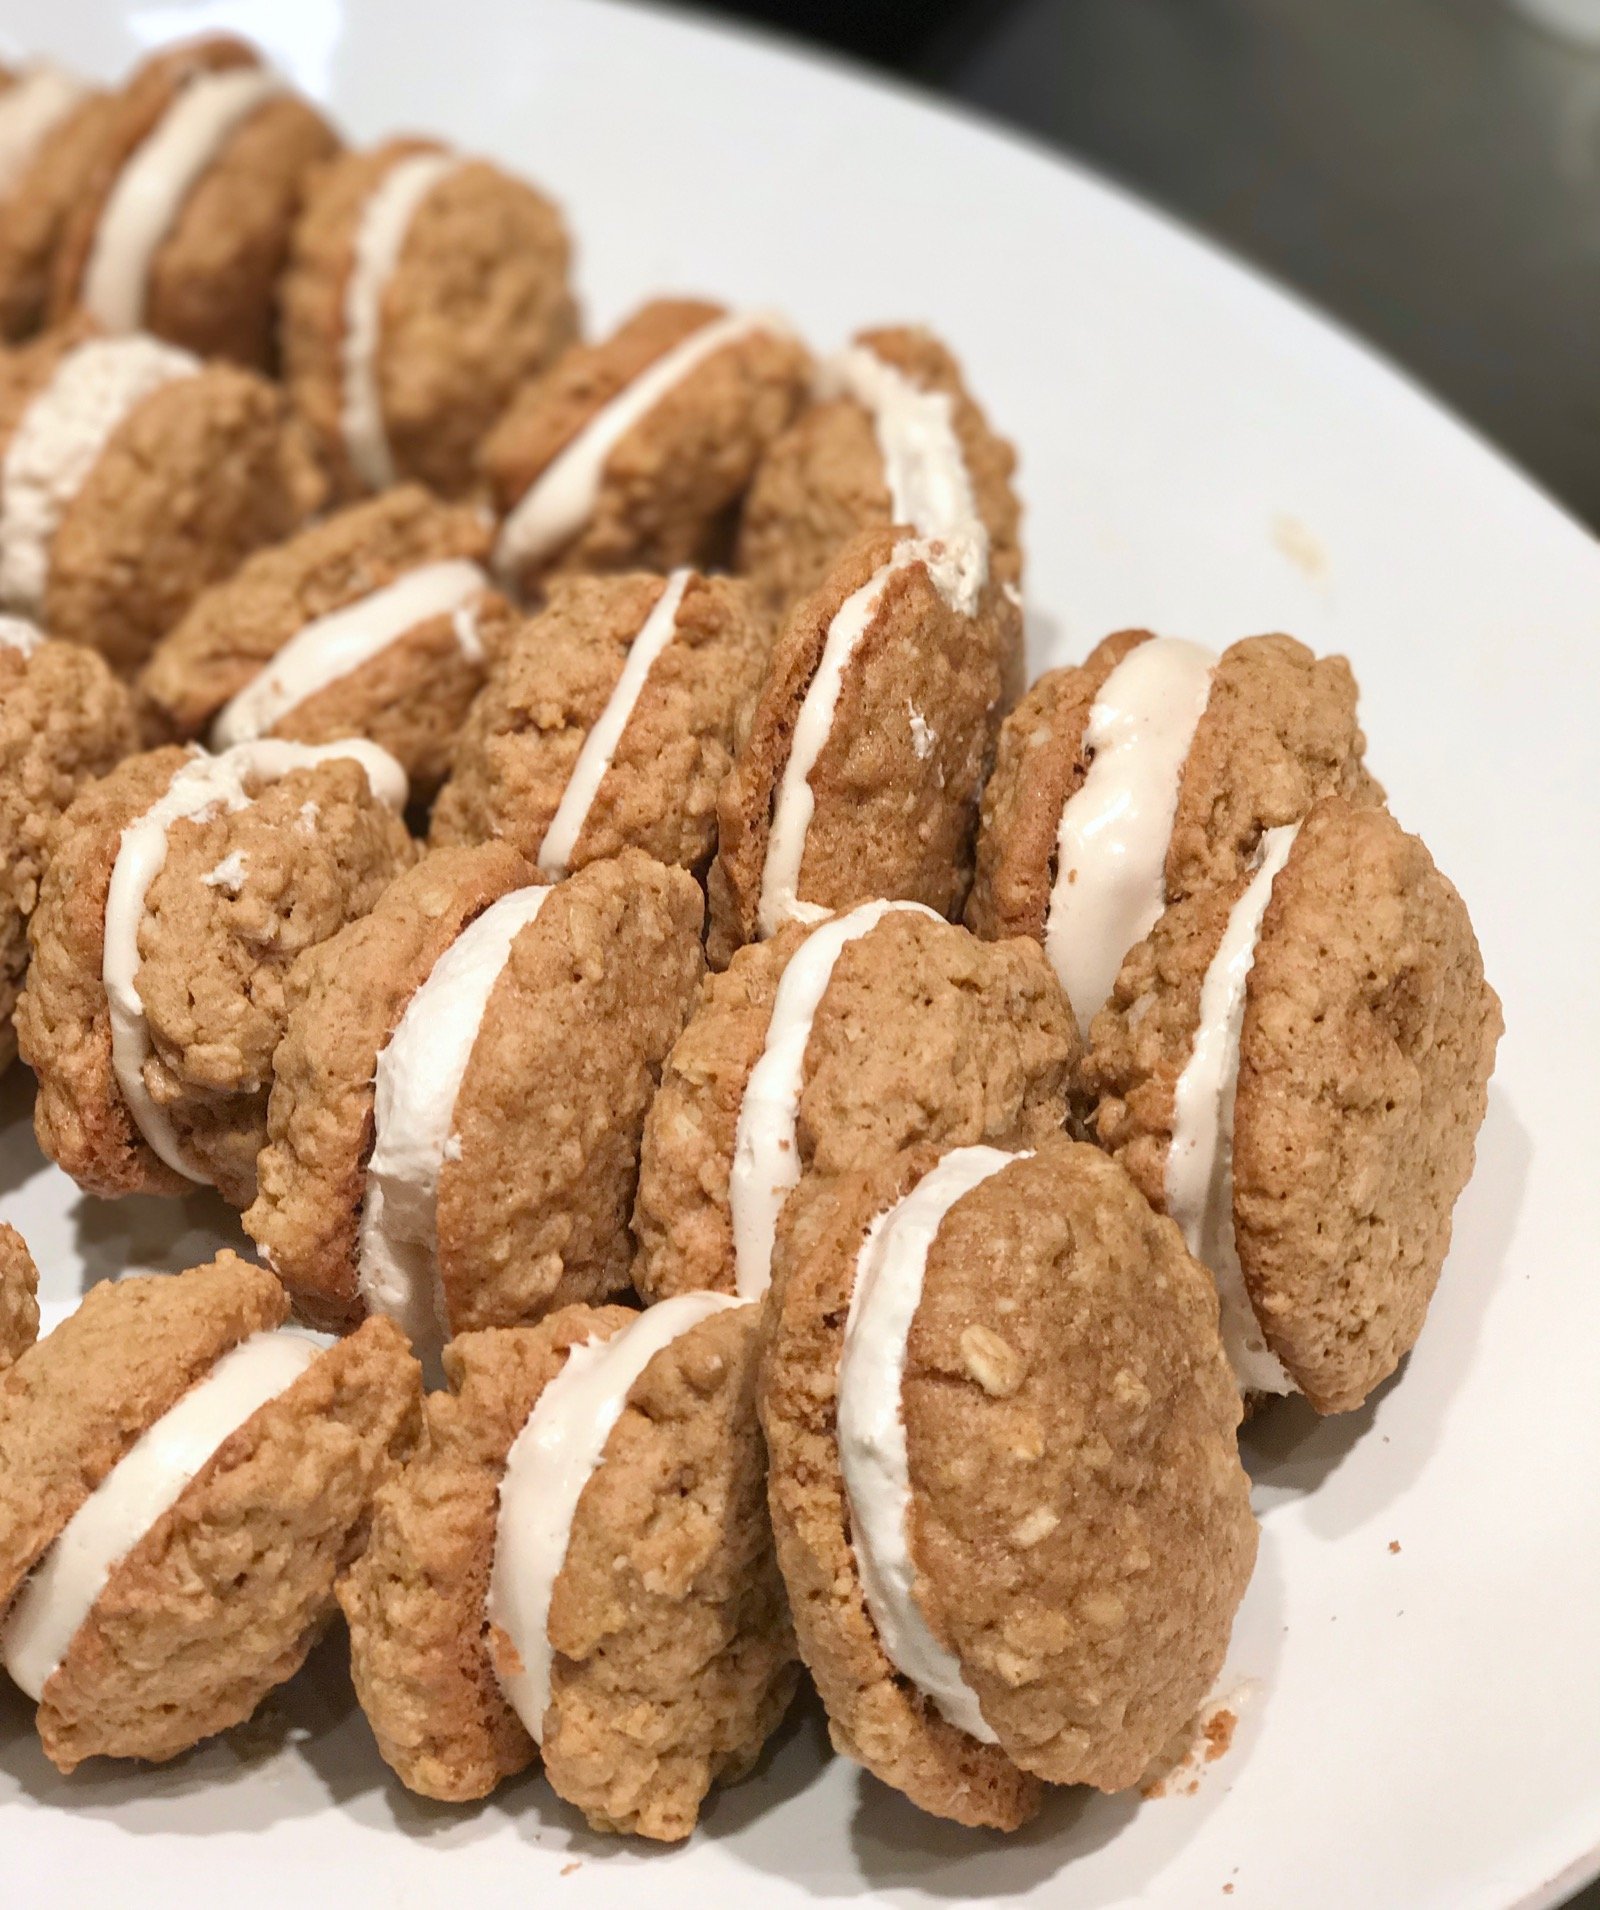
Homemade Oatmeal Creme Pies
For this event, I like to make a different cookie recipe every year (just for fun!) and, bonus, that also means I can share it here with you on the blog. I have to credit my friend Holly for the idea to attempt Oatmeal Creme Pies this year. She made a grain-free version of Danielle Walker's recently and let me try a bite. I was never a big Oatmeal Creme Pie fan myself (at least when it came to the "Little Debbie" boxed version, which is full of so much junk), but this was so GOOD! So I set out to make a regular version with grains, of course, and also a reduced amount of sugar (compared to other sandwich cookie recipes). I am using rule-breaking sugar here since this is a "special treat," but also with it being homemade, I can control the amount and not over do it!

After trying a couple different options, I ended up going with a marshmallow fluff filling for these. I like how it does not squish down when you take a bite and also isn't as overly sweet as a typical buttercream. I used my marshmallow recipe (that we make for our outdoor movie party at the end of every school year) and just piped it onto the cookies before it started to set into marshmallows. The homemade version is super yummy and SO much better for you than the boxed stuff - enjoy!
You May Also Like
- Chocolate Baked Oatmeal
- Healthy Oatmeal Cookies
- Instant Pot Oatmeal
- Oatmeal Recipe
- Cinnamon Spice Oatmeal

Homemade Oatmeal Creme Pies
Ingredients
For the Cookies
- 1 ½ cups whole-wheat pastry flour
- 1 ½ cups rolled oats
- 2 teaspoons cinnamon
- 1 teaspoon baking soda
- ½ teaspoon baking powder
- ½ teaspoon nutmeg
- ½ teaspoon salt
- 12 tablespoons butter (softened)
- 1 cup brown sugar
- 2 eggs
- 1 teaspoon pure vanilla extract
For the Marshmallow Creme Filling
- ½ cup water (cold)
- 3 packs gelatin (unflavored, each pack is ¼ ounce size)
- 1 ½ cups pure maple syrup
- ¼ teaspoon salt
- 2 teaspoons pure vanilla extract
Instructions
For the Cookies:
- Preheat oven to 350 degrees F. In a medium bowl whisk together the flour, oats, cinnamon, baking soda, baking powder, nutmeg and salt.
- In a different bowl, use an electric mixer to beat the butter and brown sugar together. Mix in the eggs and vanilla. Slowly mix in the dry ingredients until well combined, scraping the sides as needed.
For the Marshmallow Creme Filling
- Pour the cold water into the bowl of an electric mixer (or another large mixing bowl). Sprinkle in the 3 packs of gelatin and set aside. It will go to work on its own and start to harden while you work on the other part of the recipe.
- Meanwhile, combine the syrup and salt in a small pot over high heat and insert a candy thermometer. As soon as the syrup starts to bubble, lower the heat to medium or medium-low and stir frequently (to avoid it spilling over and catching fire) until the temperature on the thermometer reaches 240 degrees F. This process can take 15 to 20 minutes, or even longer, and is not something you can leave unattended so pull up a chair!
- As soon as the syrup reaches the desired temp, turn the mixer onto low and slowly pour the hot syrup into the gelatin mixture. I used a stainless steel ½ cup measuring cup to carefully add the syrup little-by-little without burning myself or making a huge mess. At first, it will still resemble a bubbly brown syrup, but keep watching because it will soon change like magic right before your eyes!
- Turn the mixer onto high and whip until it thickens and looks like "marshmallow fluff," about 10 minutes. Add vanilla extract and whip 1-2 minutes longer.
- Immediately transfer to a piping bag and pipe onto to the bottom of a cookie. Top with the bottom of another cookie to create a "sandwich" and repeat. While you are working the remaining fluff in the bowl may start to dry out and set into marshmallows. Simply heat in batches in the microwave (10 or 20 seconds is all it takes) to bring it back to a gooey consistency. Note: If you have leftover filling spread it into a greased baking dish, let it set overnight, and then cut into marshmallow squares.
Notes
Nutrition Facts


Joe says
Hi, I found this recipe while looking in your vegetarian section. Gelatin is listed as an ingredient for the marshmallow creme filling but gelatin is not vegetarian, do you recommend a substitute for the gelatin?
100 Days Admin says
Hi Joe, thank you for catching that. We have updated the post. We are not too familiar with substitutes for vegetarian gelatin. Some research shows Agar Agar, but we've never tried it before. Might be worth asking a vegetarian/vegan food blogger if they have any suggestions. - Nicole
Jen says
Will the cookies soften up over time? I prefer soft over crunchy.
100 Days Admin says
They won't be too crunchy to begin with, and if you keep them stored at room temp they'll be even better. - Nicole
Pam says
Could the cookies be made sugar free? What if I swap out the brown sugar for honey?
Amy Taylor (comment moderator) says
Hi there. This might help: https://www.thekitchn.com/4-rules-for-successfully-swapping-honey-for-sugar-in-any-baked-goods-230156.
Brandon Phillips says
Curious to know how the marshmallow filling "sets up after it has been piped onto the cookies. So does this become a chewy oatmeal cookie with a hard marshmallow in between, on day 2?
Amy Taylor (comment moderator) says
The filling doesn't become hard, just more marshmallow-like.
Lisa Huff says
Such a fun idea! Love it!
Angela Miller says
Do you have a recommendation on gelatin?
Jacqueline says
Off to try these this afternoon- they look delicious! We just learned how to make marshmallows (the corn syrup way), so I’m excited to try these maple syrup ones! We loved the corn syrup marshmallows, but found them almost too sweet to enjoy.
Lisa says
Good luck!
Amy Green says
Oh my gosh I used to LOVE these! Now they always seem too sweet. I will definitely be trying this.
Becky says
Do these have to be refrigerated?
Lisa says
No, room temp is fine!